Design an overlay in Photoshop
Spice up your party photos with your logo or event graphic.
You can customize your photos with an Overlay (previously called Watermarks).
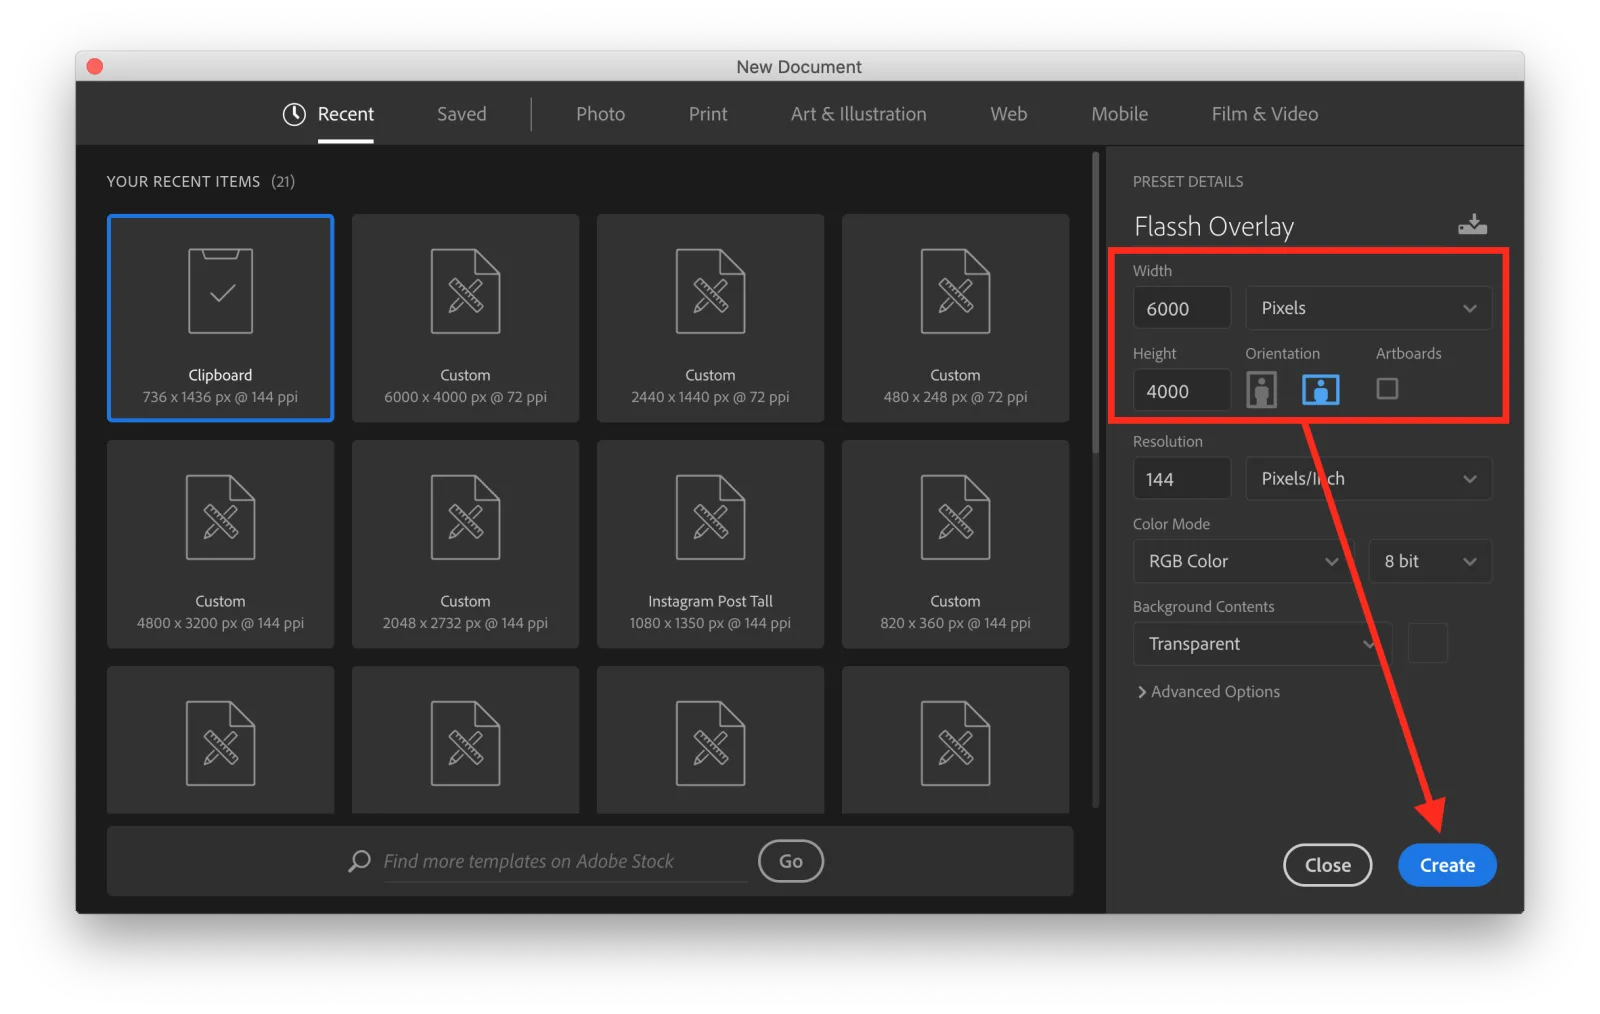
If you want your Overlay to be the full size of your photo, it needs to be:
- Width: 6,000 pixels
- Height: 4,000 pixels
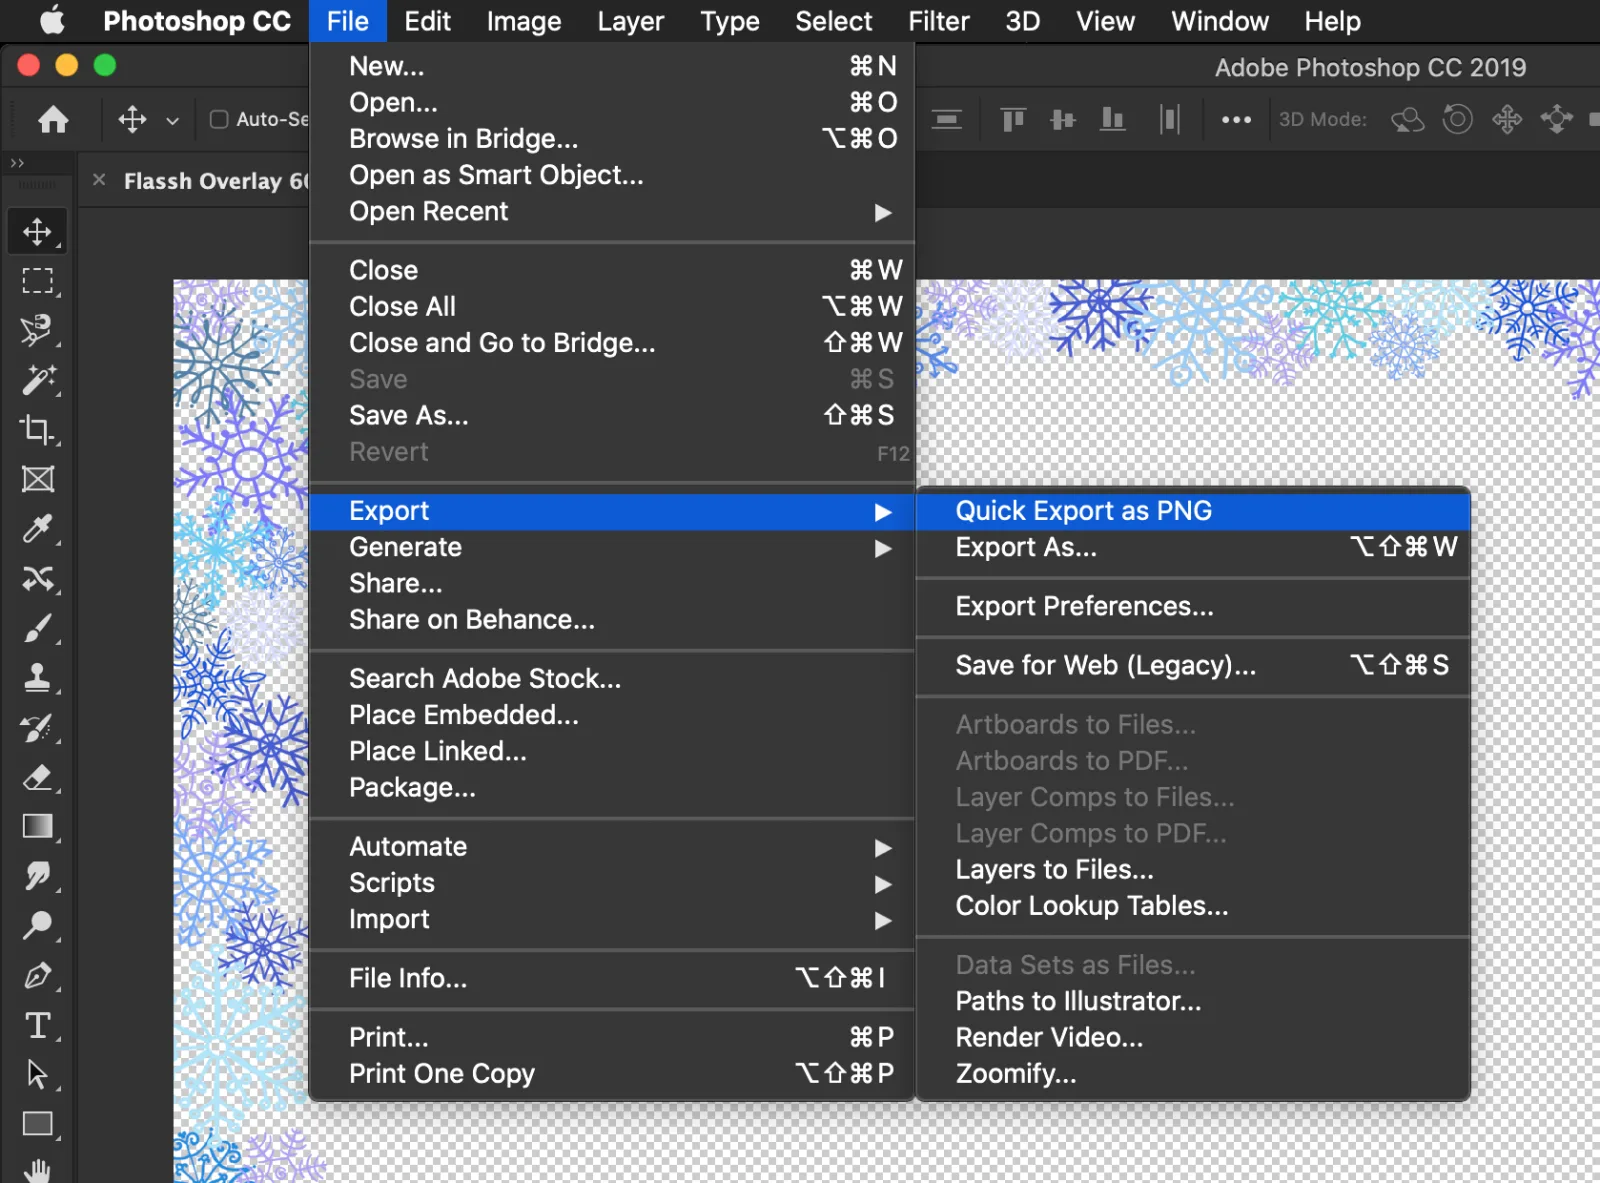
- Export as a transparent .PNG file
Design your Overlay in Photoshop
-
Create your document with 6,000 width by 4,000 height.
-
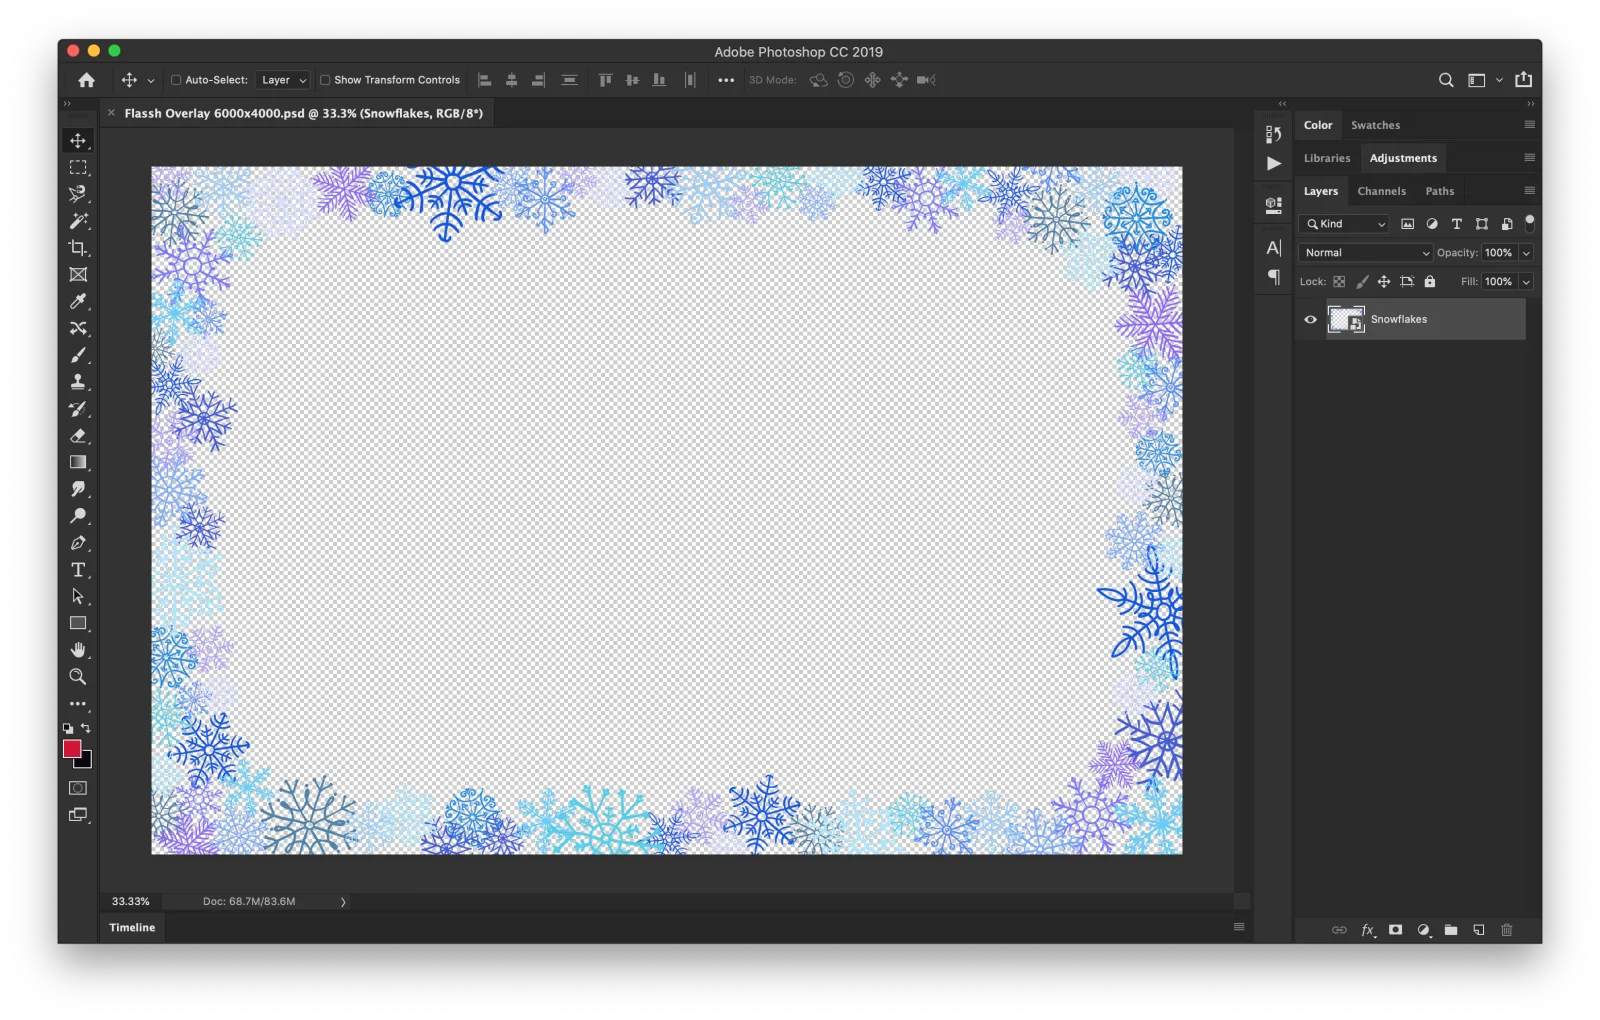
Add your graphics.
-
Export as a transparent .PNG
Uploading your Overlay
-
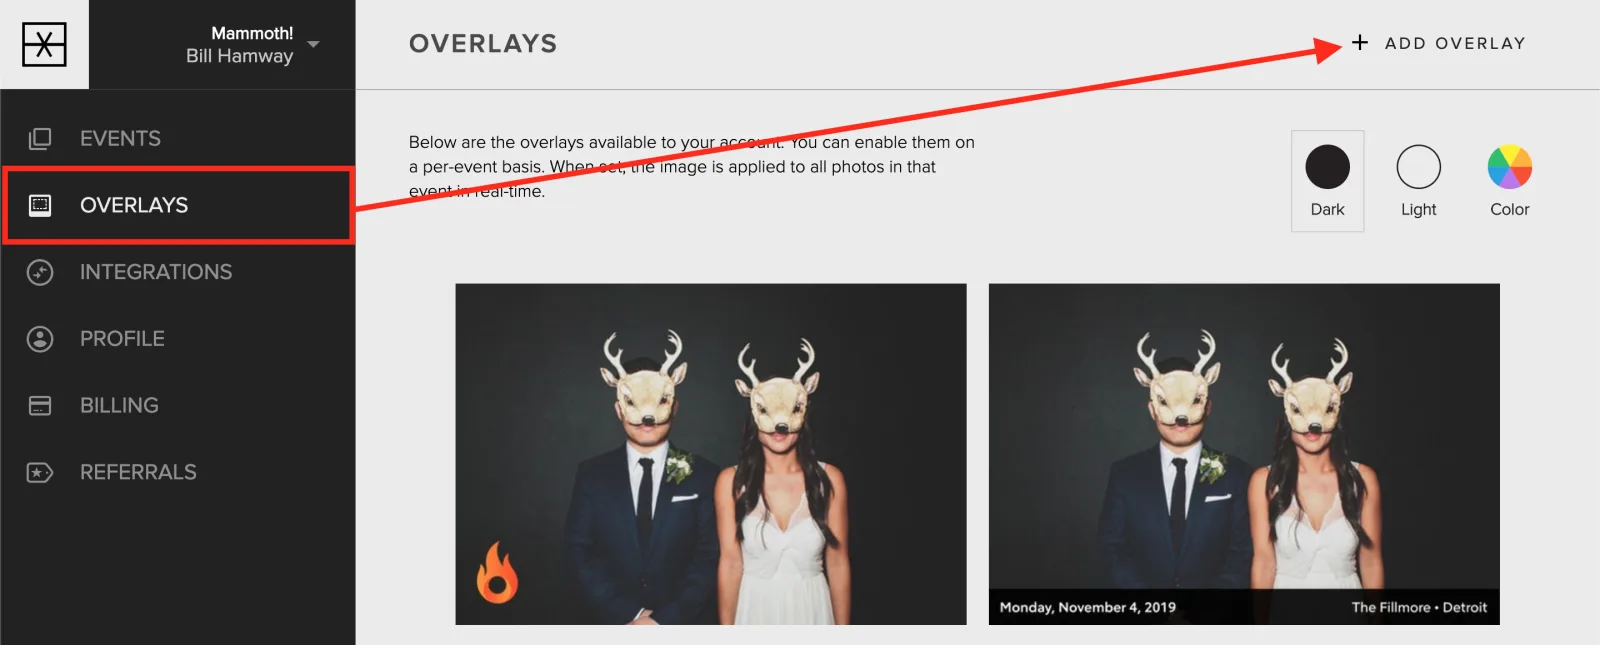
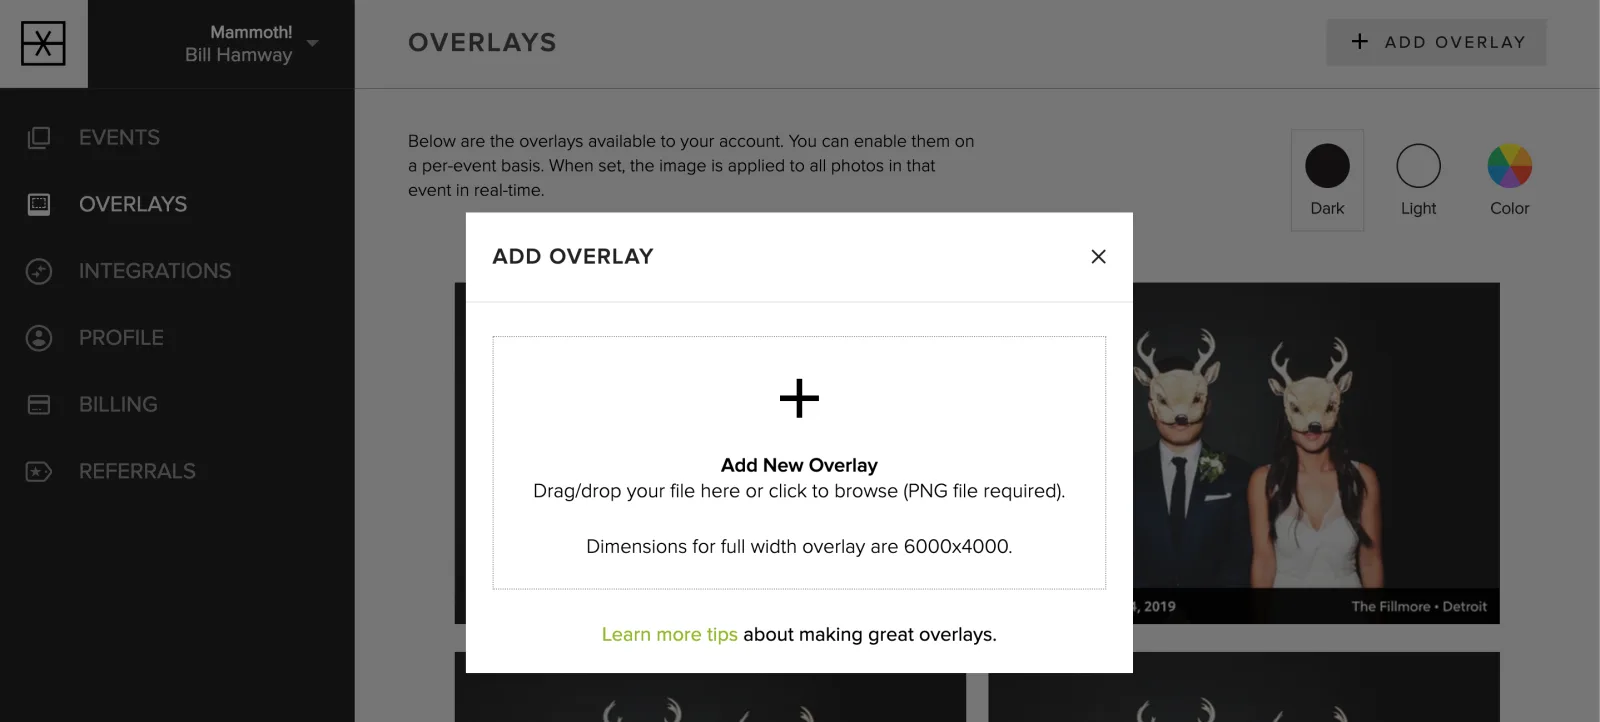
Click Overlays, then Add Overlay
-
Drag/drop your .PNG file here or click to browse
-
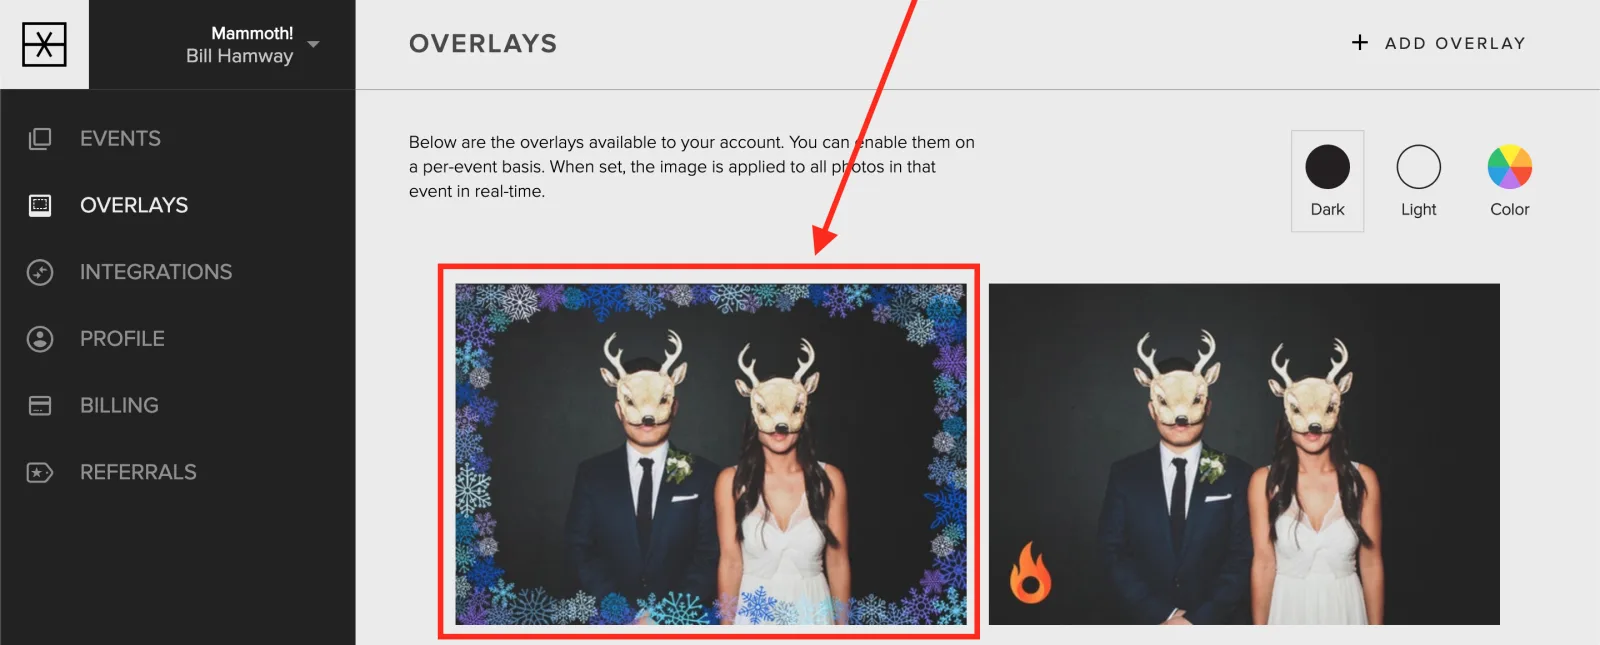
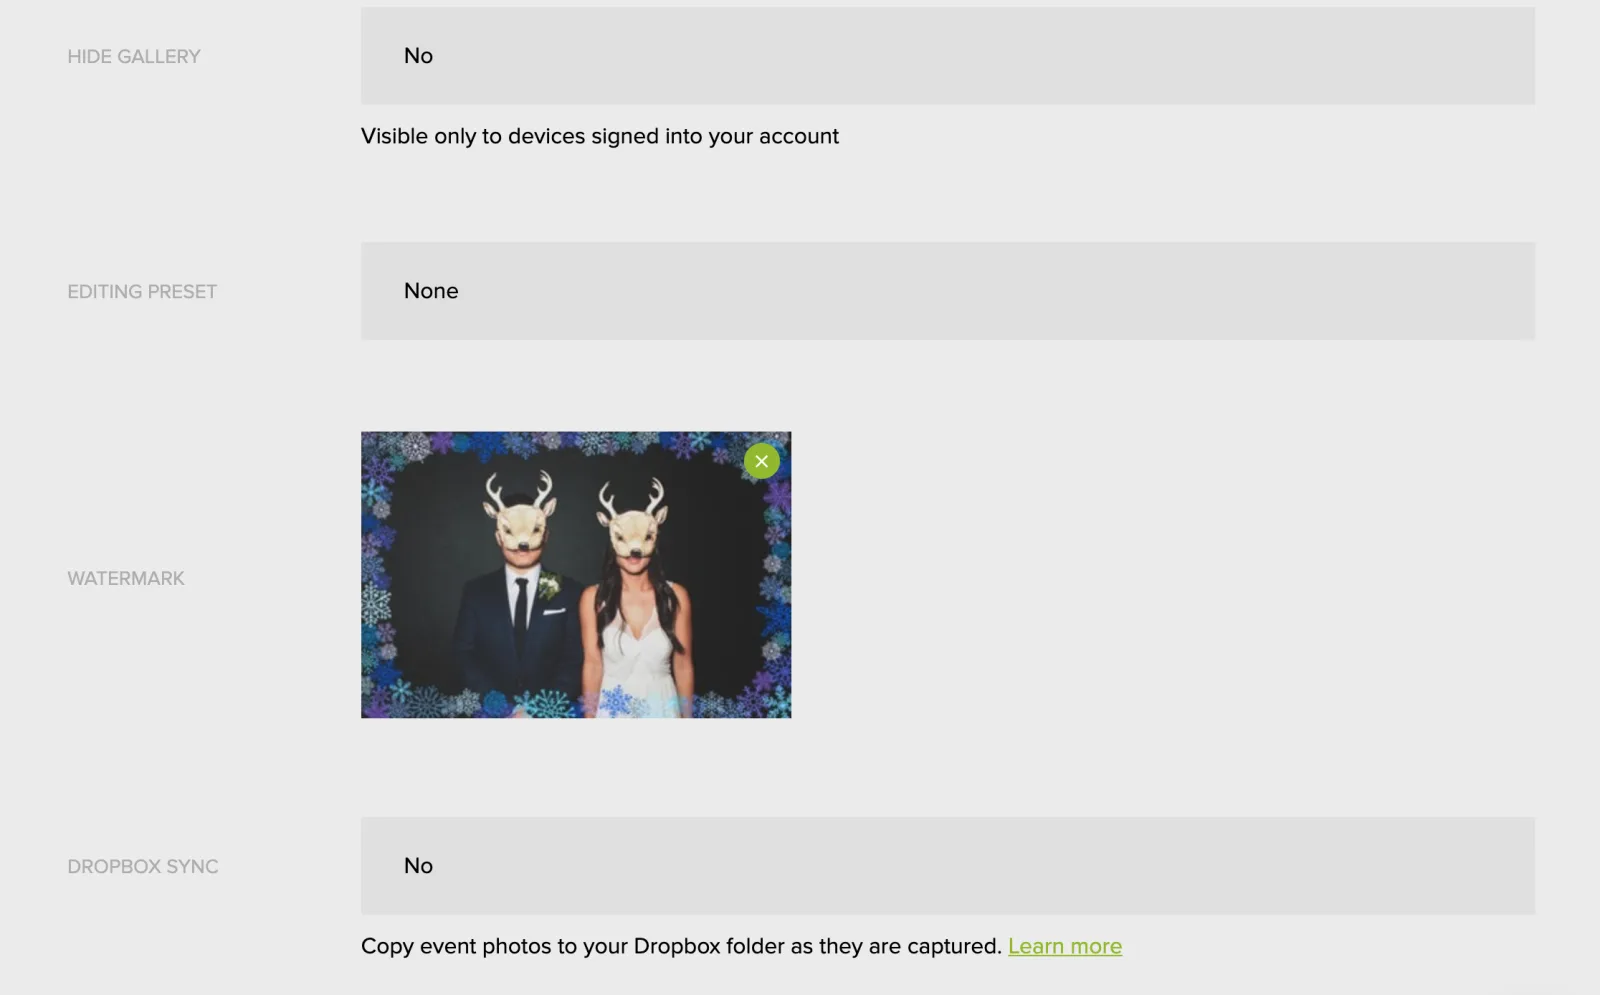
Your Overlay will upload and appear here.
-
If you’d like to change the positioning, click on the photo with your Overlay
Add Overlay to your event
- Create a new event or edit your desired event.
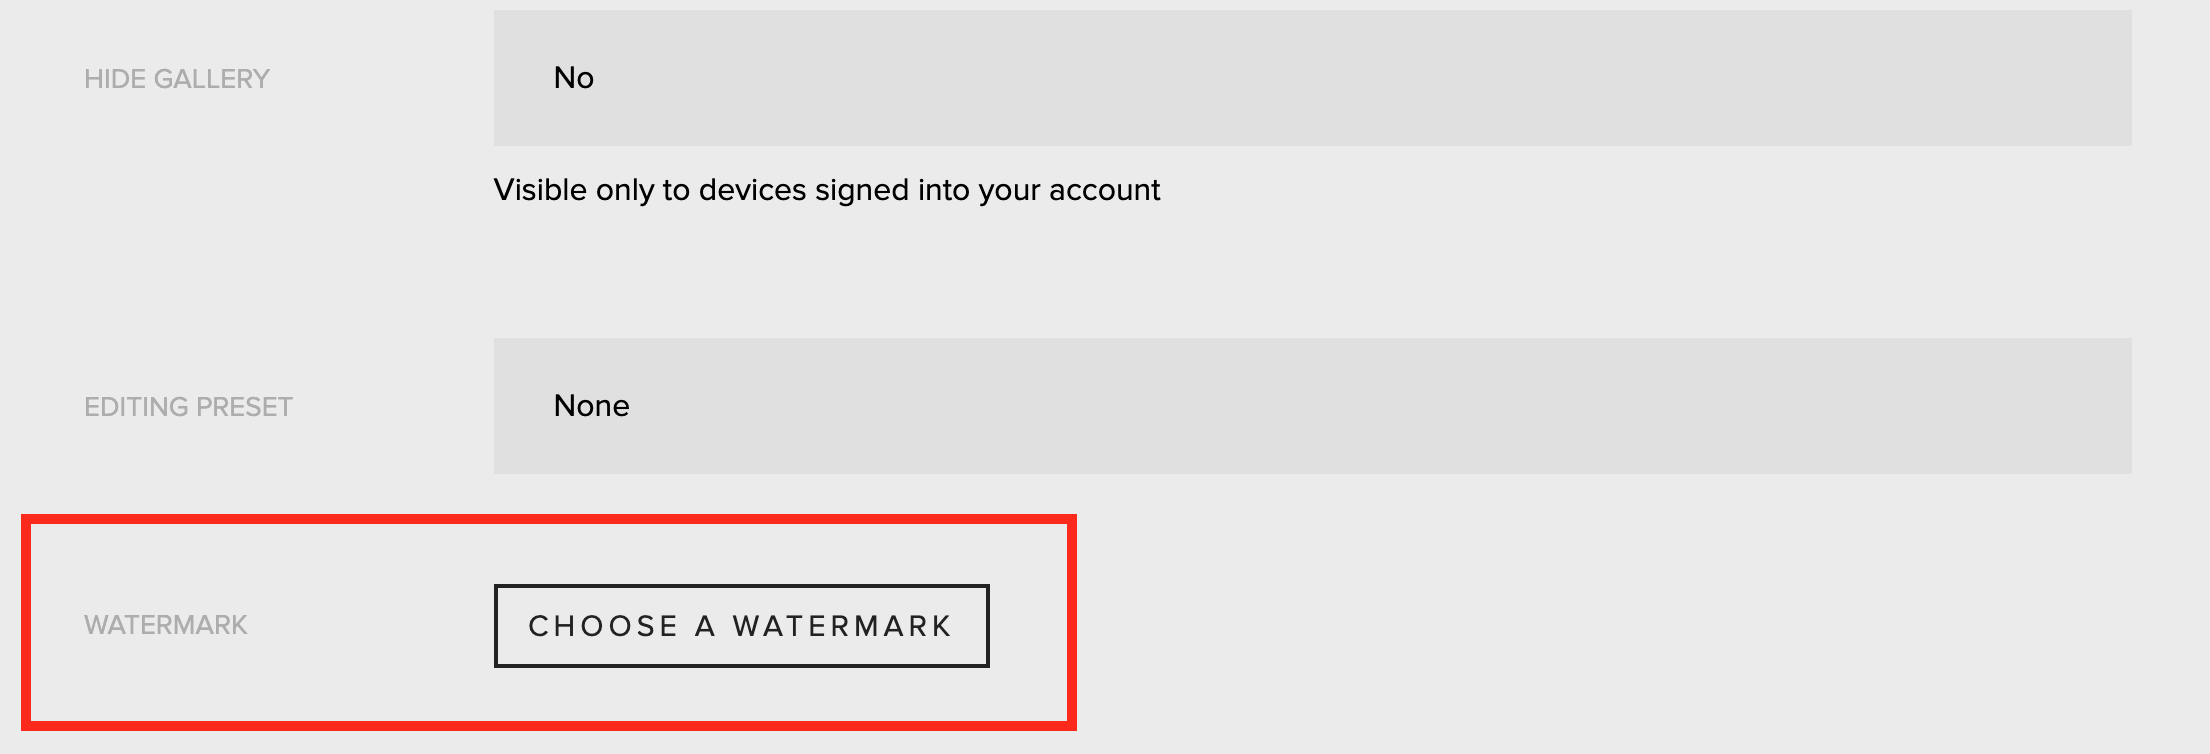
- Scroll down and click “Choose an overlay”
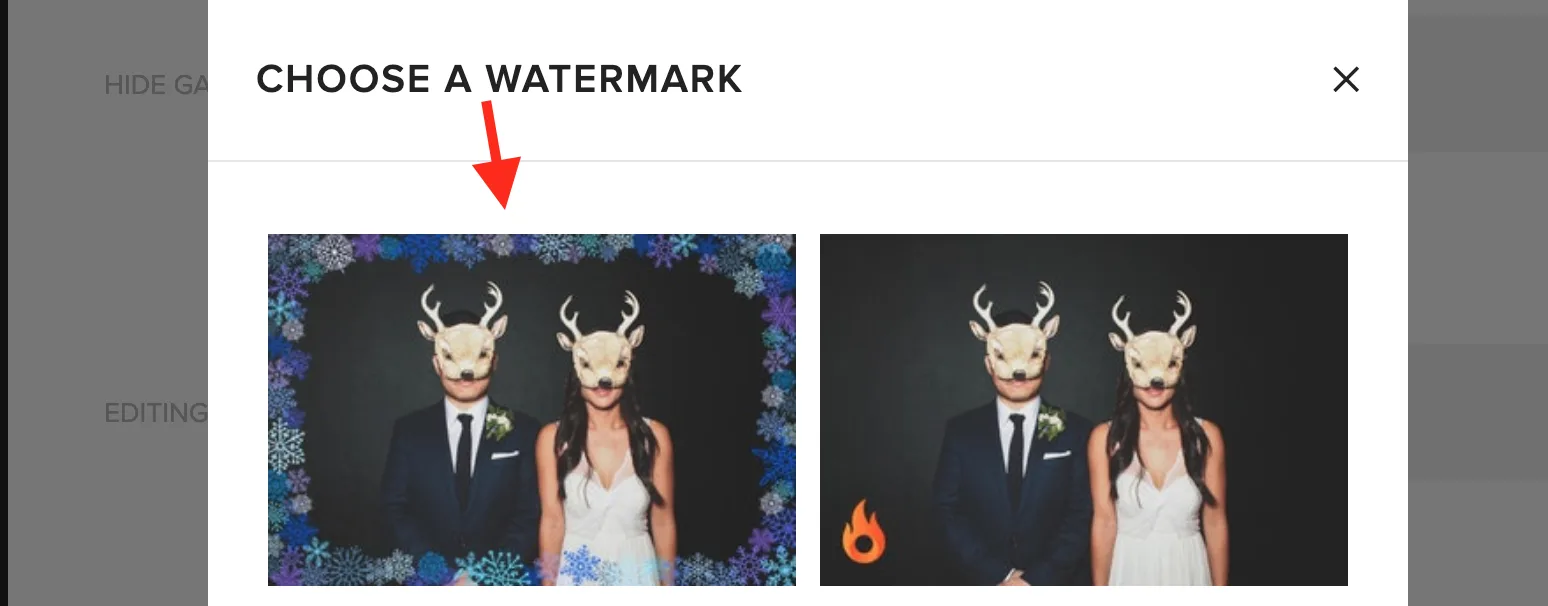
- Choose the Overlay you just uploaded
-
Once you choose it, you’ll see it in your Event settings
Updated October 27, 2025